Featured 1

Curabitur et lectus vitae purus tincidunt laoreet sit amet ac ipsum. Proin tincidunt mattis nisi a scelerisque. Aliquam placerat dapibus eros non ullamcorper. Integer interdum ullamcorper venenatis. Pellentesque habitant morbi tristique senectus et netus et malesuada fames ac turpis egestas.

Featured 2

Curabitur et lectus vitae purus tincidunt laoreet sit amet ac ipsum. Proin tincidunt mattis nisi a scelerisque. Aliquam placerat dapibus eros non ullamcorper. Integer interdum ullamcorper venenatis. Pellentesque habitant morbi tristique senectus et netus et malesuada fames ac turpis egestas.

Featured 3

Curabitur et lectus vitae purus tincidunt laoreet sit amet ac ipsum. Proin tincidunt mattis nisi a scelerisque. Aliquam placerat dapibus eros non ullamcorper. Integer interdum ullamcorper venenatis. Pellentesque habitant morbi tristique senectus et netus et malesuada fames ac turpis egestas.

Featured 4

Curabitur et lectus vitae purus tincidunt laoreet sit amet ac ipsum. Proin tincidunt mattis nisi a scelerisque. Aliquam placerat dapibus eros non ullamcorper. Integer interdum ullamcorper venenatis. Pellentesque habitant morbi tristique senectus et netus et malesuada fames ac turpis egestas.

Featured 5

Curabitur et lectus vitae purus tincidunt laoreet sit amet ac ipsum. Proin tincidunt mattis nisi a scelerisque. Aliquam placerat dapibus eros non ullamcorper. Integer interdum ullamcorper venenatis. Pellentesque habitant morbi tristique senectus et netus et malesuada fames ac turpis egestas.

down

Showing posts with label Accessories. Show all posts

11.10.2011

Cute Christmas Hair Clip

Cute Christmas Hair Clip


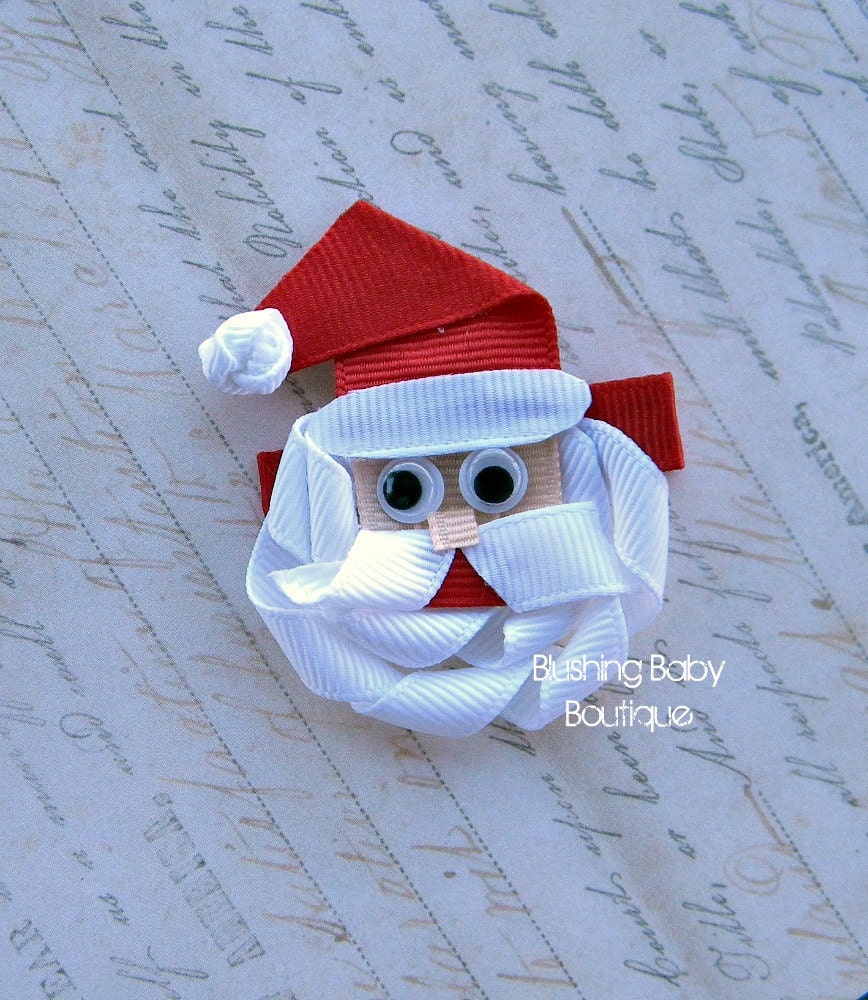
Santa Clause Hair Clip- Attached to Partially lined Alligator Clip-
From blushingbaby
Santa Clause Hair Clip- Attached to Partially lined Alligator Clip-
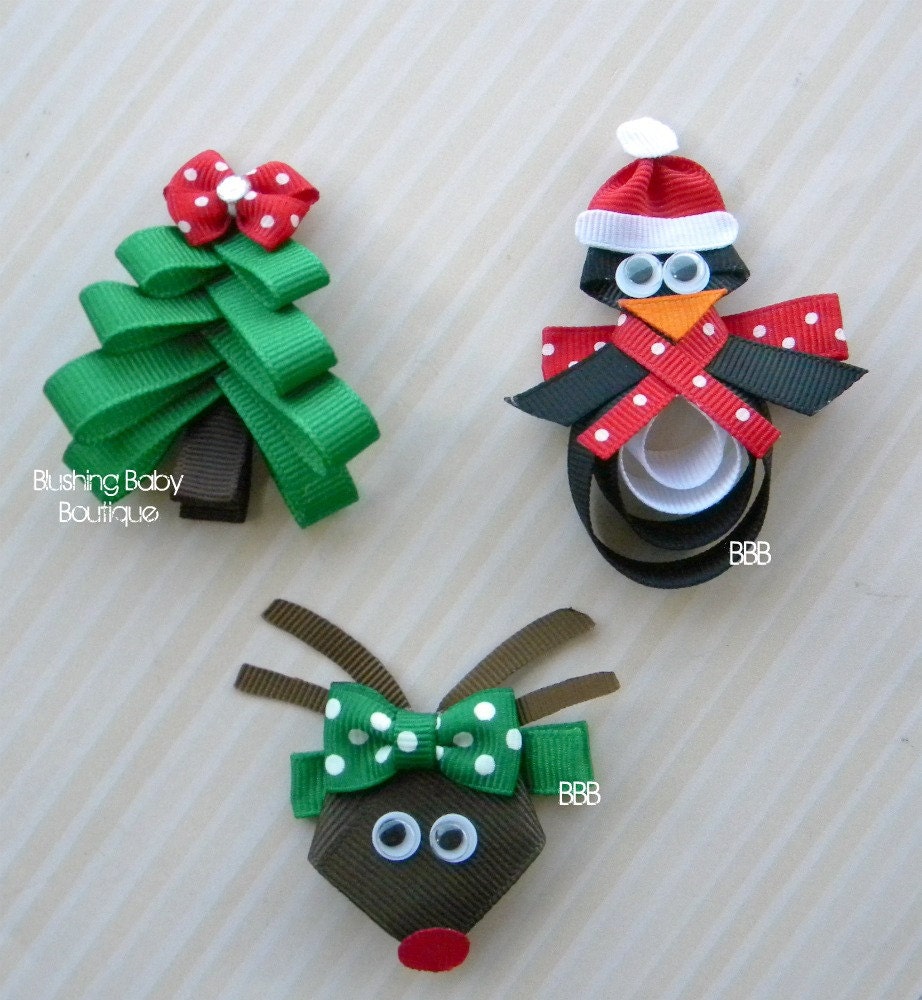
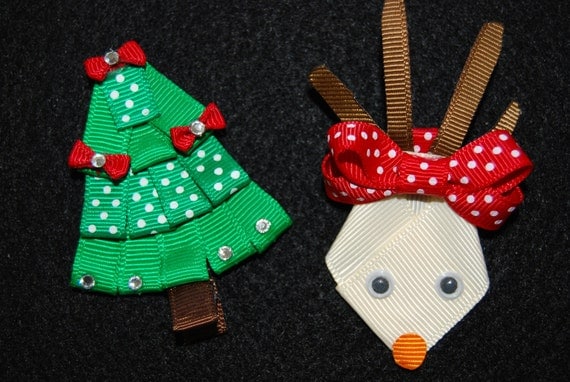
Christmas Trio- Set of 3 Christmas Hair Clips- O Christmas Tree- Paulie the Penguin- Santa's Little Reindeer
From blushingbaby
Christmas Trio- Set of 3 Christmas Hair Clips- O Christmas Tree- Paulie the Penguin- Santa's Little Reindeer
Christmas Trio- Set of 3 Christmas Hair Clips- O Christmas Tree- Paulie the Penguin- Santa's Little ReindeerFrom blushingbaby
Christmas Trio- Set of 3 Christmas Hair Clips- O Christmas Tree- Paulie the Penguin- Santa's Little Reindeer

This listing is for THREE (3) Holiday Hair Clips. You will receive the following by purchasing this listing:
-ONE 2" O Christmas Tree
-ONE 2.5" Paulie the Penguin
-ONE 2" Santa's Little Reindeer
All three of these clips are attached to partially lined alligator clips. They are made of grosgrain ribbon and will be a perfect addition to all holiday outfits.
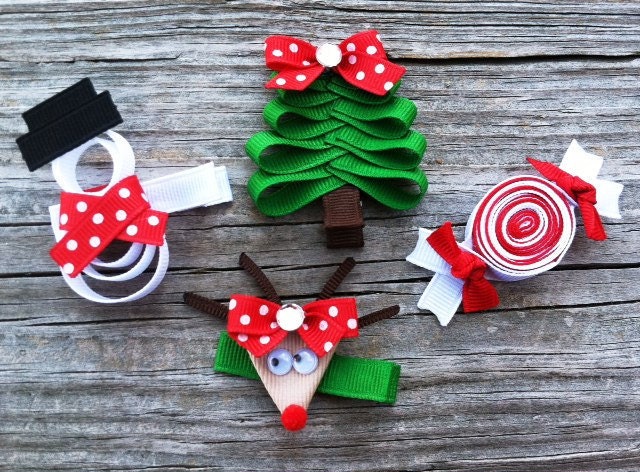
Set of 4.. Christmas Sculpture Hair Clip Set - Holiday Christmas Tree, Reindeer, Snowman, and Peppermint Candy - Free Shipping PromoFrom leilei1202
Set of 4.. Christmas Sculpture Hair Clip Set - Holiday Christmas Tree, Reindeer, Snowman, and Peppermint Candy - Free Shipping Promo
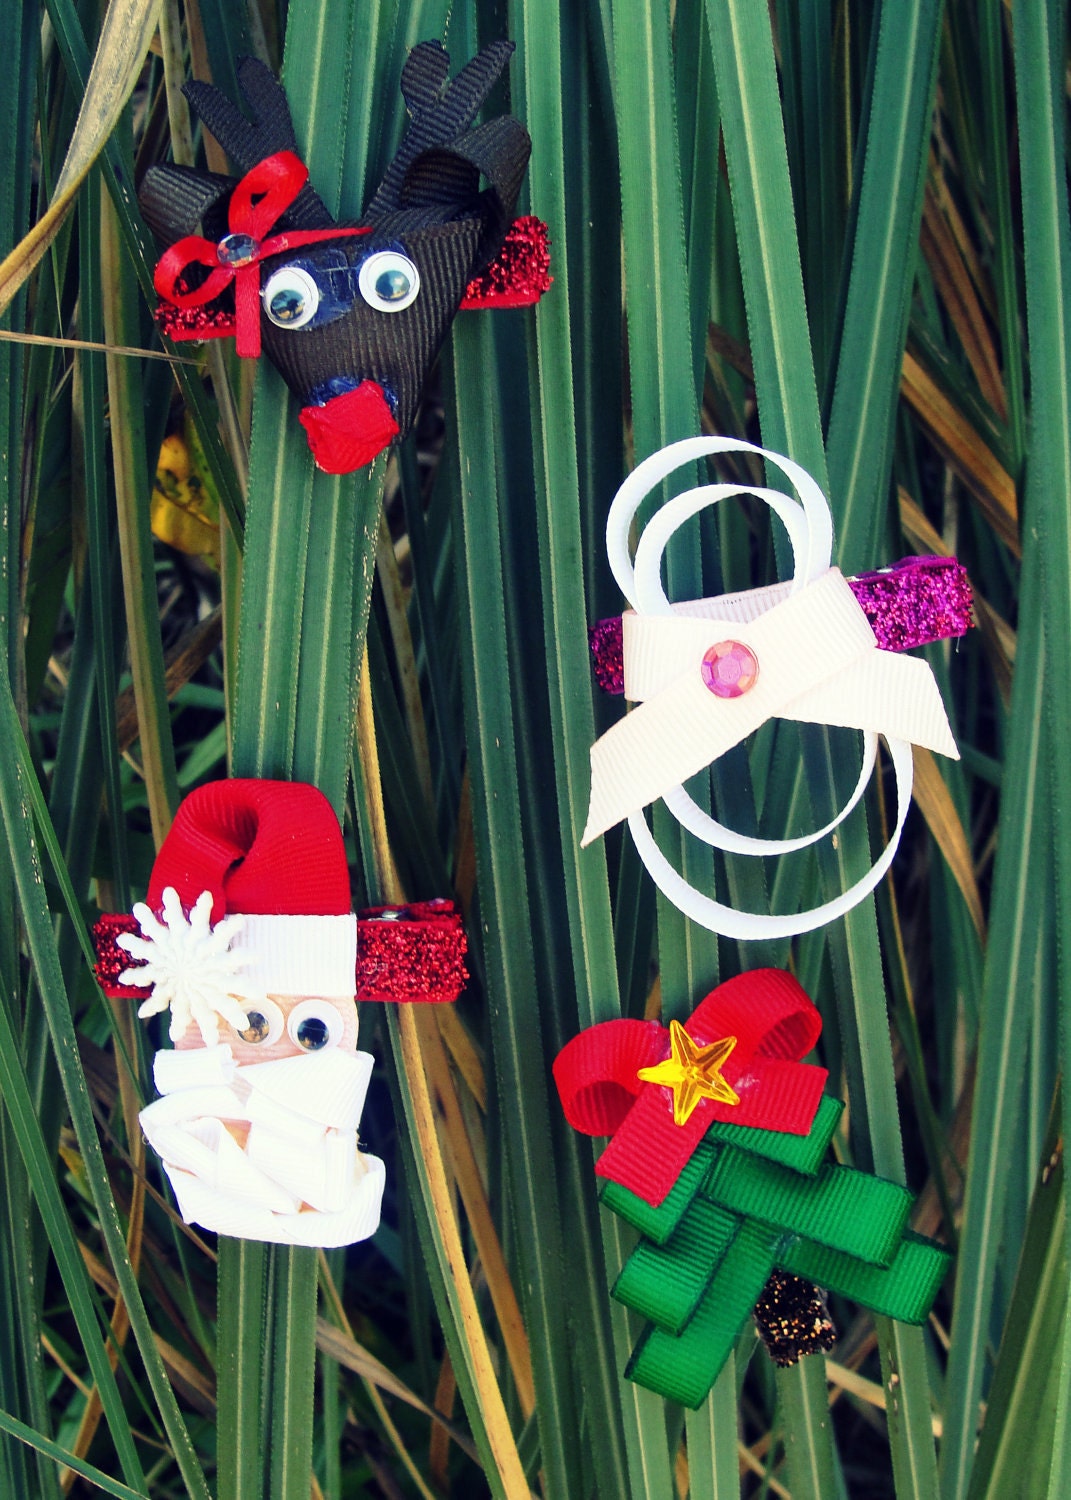
Set of 4 Christmas Sculpted Hair Clip Set-Reindeer, Snowman, Santa Clause and Christmas Tree
From kmostrander
Set of 4 Christmas Sculpted  Hair Clip Set-Reindeer, Snowman, Santa Clause and Christmas Tree

Hand sculpted Christmas hair clips. This listing includes rudolph, a girl snowman, santa clause and a Christmas tree. All on a half lined two prong alligator clip. Perfect for any and every outfit for the Christmas season.
Christmas Tree Rudolph the Red Nosed Reindeer Hair Clip Barrette great Stocking Stuffer AccessoryFrom LePetiteBirdie
Christmas Tree Rudolph the Red Nosed Reindeer Hair Clip Barrette great Stocking Stuffer Accessory

10.16.2011

Crafty jewelry: hair accessories, more ideas


Headband with Light pink crocheted heart    
Crafty jewelry:  hair accessories, more ideas

amigurumi fox headbandCrocheted Red hearts (set of 4)

Crocheted Red hearts (set of 4)
amigurumi fox headband

Headband with Light pink crocheted heartcute ladybug headbandTeal crocheted hearts(set of 4)Crocheted Glitter Red valentine hearts set of 2

Crocheted Glitter Red valentine hearts set of 2
Teal crocheted hearts(set of 4)
cute ladybug headband
 

10.11.2011

Crafty jewelry: Ribbon Pearl Necklace tutorial

Anywho, I found my next project on Pintrest.  It was originally linked back to a store but it is no longer available at that store.  So because I had to figure out how to make it myself without a tutorial I am listing this as an Idea Origianl but I was definitely inspired and didn't come up with it all by myself.

Crafty jewelry: Ribbon Pearl Necklace tutorial
Isn't she pretty?  And it is really much easier to make then it looks.
 
Here are the supplies that you will need:
Pearls (I bought 3 packages but only ended up using one for each necklace)
Ribbon
Thread
Needle
 
 
Start out with two strands of Ribbon. Each strand I used measured about 2.5 - 3 feet because I wanted to make sure I had enough.  With the two pieces together tie a knot about 5-6 inches in from one end.  Then tie the thread into that knot.  The thread is what is going to go into the beads, not the ribbon.  When you very first start it will look awkward but it gets better I promise.  So the key is for each ribbon to pass over 2 beads but you want them to alternate so there is ribbon between each bead.  Thread one bead then pull the needle & thread through ribbon A, put on another bead and put the needle and thread through the ribbon B and just keep alternating making sure not to twist the ribbon.  So now that you are confused know exactly what I am talking about let me show you the pictures and that should help a lot.


I used one package of pearls per necklace.  After I threaded the last pearl I again put the 2 ribbon strands together and tied a knot tight against that last pearl.  Trim Ribbon B close to the knot so you are left with only Ribbon A.  Make sure you trim Ribbon B off of the starting end as well so you have 2 single ribbon ends to tie together.  Then with the two ends I decided how long I wanted my necklace to be, tied another knot and trimmed the loose ends.
 
 
I made 2, a purple and a black and I love them both have worn them many times.


Take it from

10.10.2011

a

http://curlyquills.com/yahoo_site_admin/assets/images/Candy_Corn_1_Closeup.140170559_large.jpg

Crafty jewelry: Quilled Earrings for Halloween

I've partnered my quilling skills to make some gorgeous earring sets! Click on any of the pictures to view a larger image. If you wish to purchase any of these sets, (or view more pictures of each item)
http://curlyquills.com/yahoo_site_admin/assets/images/Ghost_2_-_Closeup.140170633_large.JPGhttp://curlyquills.com/yahoo_site_admin/assets/images/Pumpkin_1_-_Closeup.140170717_large.JPG

http://curlyquills.com/yahoo_site_admin/assets/images/Stubbs3.206183140_large.JPG
http://curlyquills.com/yahoo_site_admin/assets/images/Pink_2-tone_Daisy_1_Close_up.140162941_large.jpghttp://curlyquills.com/yahoo_site_admin/assets/images/Purple_2-tone_Flower_1_-_Closeup.140163257_large.JPGhttp://curlyquills.com/yahoo_site_admin/assets/images/Purple_2-tone_Daisy_1_Close-up.140163026_large.jpghttp://curlyquills.com/yahoo_site_admin/assets/images/Green_2-tone_Flower_1_-_Closeup.140163234_large.JPGtake it from

10.05.2011

Unique jewelry: Fancy Ear Cuff, more ideas

Unique jewelry: Fancy Ear Cuff, more ideas

Here is a recent creation- a very fancy ear cuff! I used Czech glass leaf beads. The two pictures shown below show how amazing these leaves are. They change color with the light! Both pictures are of the same ear cuff. The one on the right was taken with a yellow-y natural light, and the one on the left was taken with a white flash. This is my favorite earcuff so far!


As always, the earcuff can be worn with earrings. I know the heart one doesn't match. Oh well. I don't know though- with this particular ear cuff, is it overkill? The pictures below show more of the ear cuff... for those of you who would like to peice together how I made it. I really can't explain.
EDIT: Another picture:


9.27.2011

Craft hair accessories: The Hair Bow tutorial


Craft hair accessories: The Hair Bow tutorial

Hello, all of my blog friends! Guess what? My weekend has had an early start! Yes, there are definite perks to working at a Christian college. Good Friday, here I come.

I have been seriously lacking in creative projects recently, so I decided that in honor of my new niece I would share one of my absolute favorite crafts to make: hair bows.

So....here are the simple steps to making adorable, professional looking hair bows for all the little girls in your life (speaking of which, I'm pretty sure every pregnant person I know is having a girl). Yes, I'm spilling all of my secrets. Feel special. 

The Simple Hair Bow:
Supplies:
-Scissors
-Hot Glue Gun
-Jewelry Wire
-Fray Check
-Hair Clip
-Wax Paper
-Ruler or Yardstick
-30 inch long piece of 1 1/2 inch wide ribbon
-8 inch long piece of 1 1/2 inch wide ribbon

Step 1: Drape the longest piece of ribbon over your hand, wrapping twice so that the ends of the ribbon face opposite directions.

Step 2: Place the folded ribbon on a flat surface.


Step 3: Gather and pinch the center of the ribbon to create a bow. (Sorry about the blurry picture....I looked after I had finished the bow.) Wrap the center of the bow with jewelry wire to hold in place. Don't worry if it doesn't look perfect right away, you can pull and mess with the ribbon once the wire is in place to get it looking like a bow.


Step 4: Take the 8" piece of ribbon and fold one half over the other.


Step 5: Create a knot by pulling the top half up through the center loop.


Step 6: Place and hot glue the knot over the center wired part of the hair bow.  Wrap ribbon around the back, hot glue, and trim off the excess ribbon.


Step 7: Hot glue the top of an alligator clip or hair clip and attach the hair bow. Be sure to place wax paper in the hair clip so you don't glue it shut!


Step 8: The last and probably most important step is to fray check the ends of the bow. We don't want unraveled ribbon, people. Fray check is your new bestie.


Ta-da! A cute and simple hair bow.


The 3-Layered Hair Bow (my favorite)

If you like huge hair bows, this bow is for you!

Supplies:
-Scissors
-Hot Glue Gun
-Jewelry Wire
-Fray Check
-Hair Clip
-Wax Paper
-Ruler or Yardstick
- 3, 19 inch long pieces of 1 1/2 inch wide ribbon
-8 inch long piece of 1 1/2 inch wide ribbon


Step 1: Take one piece of 19" long ribbon.  Overlap as shown below.


Step 2: Pinch the center of the ribbon and hold in place by wrapping jewelry wire around the middle.

Step 3: Repeat Steps 1 and 2 for the remaining 19" pieces of ribbon. Your bows should look like this when you finish.


Step 4: Stack the 3 bows on top of each other. I usually stack them in a clockwise direction so that they don't lay directly on top of each other. Wrap jewelry wire around the center of all 3 bows.


Step 5: Repeat Steps 4-8 in the above directions to make a center knot and complete the bow.

And you should get something like this when you're done!


Love :).


The Hair Bow

Hello, all of my blog friends! Guess what? My weekend has had an early start! Yes, there are definite perks to working at a Christian college. Good Friday, here I come.

I have been seriously lacking in creative projects recently, so I decided that in honor of my new niece I would share one of my absolute favorite crafts to make: hair bows.

So....here are the simple steps to making adorable, professional looking hair bows for all the little girls in your life (speaking of which, I'm pretty sure every pregnant person I know is having a girl). Yes, I'm spilling all of my secrets. Feel special.

The Simple Hair Bow:
Supplies:
-Scissors
-Hot Glue Gun
-Jewelry Wire
-Fray Check
-Hair Clip
-Wax Paper
-Ruler or Yardstick
-30 inch long piece of 1 1/2 inch wide ribbon
-8 inch long piece of 1 1/2 inch wide ribbon

Step 1: Drape the longest piece of ribbon over your hand, wrapping twice so that the ends of the ribbon face opposite directions.

Step 2: Place the folded ribbon on a flat surface.


Step 3: Gather and pinch the center of the ribbon to create a bow. (Sorry about the blurry picture....I looked after I had finished the bow.) Wrap the center of the bow with jewelry wire to hold in place. Don't worry if it doesn't look perfect right away, you can pull and mess with the ribbon once the wire is in place to get it looking like a bow.


Step 4: Take the 8" piece of ribbon and fold one half over the other.


Step 5: Create a knot by pulling the top half up through the center loop.


Step 6: Place and hot glue the knot over the center wired part of the hair bow.  Wrap ribbon around the back, hot glue, and trim off the excess ribbon.


Step 7: Hot glue the top of an alligator clip or hair clip and attach the hair bow. Be sure to place wax paper in the hair clip so you don't glue it shut!


Step 8: The last and probably most important step is to fray check the ends of the bow. We don't want unraveled ribbon, people. Fray check is your new bestie.


Ta-da! A cute and simple hair bow.


The 3-Layered Hair Bow (my favorite)

If you like huge hair bows, this bow is for you!

Supplies:
-Scissors
-Hot Glue Gun
-Jewelry Wire
-Fray Check
-Hair Clip
-Wax Paper
-Ruler or Yardstick
- 3, 19 inch long pieces of 1 1/2 inch wide ribbon
-8 inch long piece of 1 1/2 inch wide ribbon


Step 1: Take one piece of 19" long ribbon.  Overlap as shown below.


Step 2: Pinch the center of the ribbon and hold in place by wrapping jewelry wire around the middle.

Step 3: Repeat Steps 1 and 2 for the remaining 19" pieces of ribbon. Your bows should look like this when you finish.


Step 4: Stack the 3 bows on top of each other. I usually stack them in a clockwise direction so that they don't lay directly on top of each other. Wrap jewelry wire around the center of all 3 bows.


Step 5: Repeat Steps 4-8 in the above directions to make a center knot and complete the bow.

And you should get something like this when you're done!


Love :).